
Let's finish this sweet advent calendar together! I chose to finish each design on mat board with a velcro backing.
The instructions and dimensions given here are based on 14-ct (28-ct) stitching.
The models were stitched over 2 on 28-ct taupe linen.
Here's what you'll need:
your 24 finished (stitched) designs
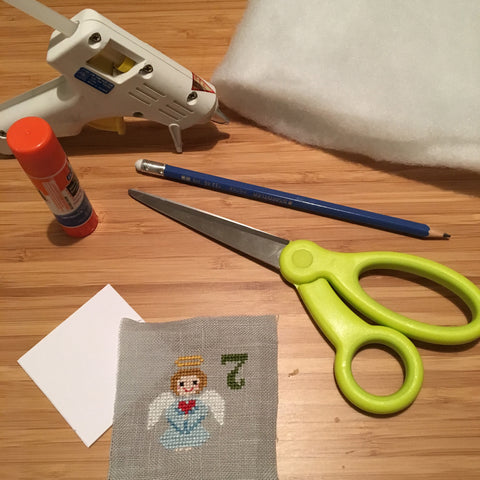
pencil
scissors
glue stick
quilt batting
hot glue gun
mat board
ruler
sharp cutting blade
cutting mat
craft felt
velcro circles or squares
For the fabric calendar backing, you will need fabric of your choice, cut to the following pieces:
Cut 2 - 14" x 17" rectangles (1/2" seam allowance)
Cut 1 - 14" x 17" piece of heavy interfacing (sew-in or fusible)
Cut 8 - 8" x 2" strips to make the tabs (1/2" seam allowance)
Iron
Wooden dowel (or long stick, etc)
4 matching buttons
Step 1
Complete all stitching and backstitching. Cut out your 24 square pieces leaving about 1 inch of excess fabric around the designs.
Step 2
Mark 24 squares on your mat board, each 2 1/4" x 2 1/4". Using the sharp blade and a ruler, cut out the 24 squares on the cutting mat.

Step 3
Cover one side of the mat board square using a glue stick, and glue the quilt batting to it. Trim off excess batting. Do this to every small square, so you have 24 pieces. The batting doesn't have to stick very well, you are a going to cover it up in the next step!

Step 4
Center one of your designs on the mat board square with the batting side against the back of your design. (fuzzy side up!) Flip it over so the back side is facing up. Use the hot glue gun to attach the edges of fabric to the mat board. Be careful not to pull too hard as you stretch the fabric and glue it- if you pull too hard on one side as you glue, your design might start to look crooked.

Step 5
Cut out 2" squares of craft felt - in a single color, or in several fun Christmas colors. Hot glue a felt square to the back of each of your 24 mat board pieces.

Step 6
Now you are ready to add the velcro! Hot glue the "soft" side of a velcro circle to the center on the back of each square.
Step 7
Now let's make the fabric calendar. See the diagram below for more details.
Baste or iron the fusible/interfacing to the wrong side of one of the 14" x 17" rectangles.
Make the 4 tabs first, sewing 2 rectangles with Right sides together, leaving one end open (Step 1 below). Flip each tab so that they are all Right side out. Baste or pin the 4 tabs in place on the Right side of the rectangle with fusing (Step 2 below).
Place the second large rectangle piece on top, so that the Right sides are together. Stitch all the way around the edges, leaving a 3" hole at the bottom (Step 3 below).
Flip the rectangle Right side up and stitch up the hole.
Stitching through all layers of fabric, attach 4 matching buttons on each tab.
That's it!
TIP: Not a sewer? Try using a thin wooden board instead of fabric for your advent calendar. Paint or stain it, and attach twine or ribbon to hang it.

Step 8
Once you've finished making the calendar, hot glue the "rough" side of the velcro circles to your fabric advent calendar, lining them up and leaving about 2 3/4" between each circle.
You're done! Hang up your advent calendar and count down to Christmas!